‘Project Management’ is an extension for MapPad Pro v. 2.0.0 allowing quicker and more consistent collection of point data. The whole idea is to automatically display a screen of pre set drop-down lists when button ‘Add Point’ is pressed:
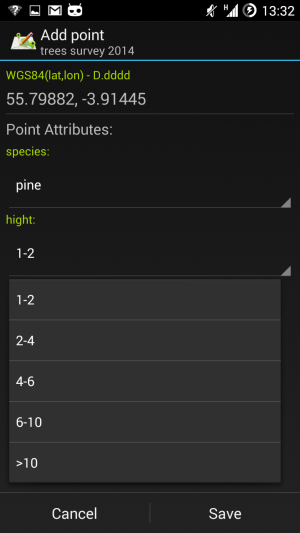
Add Point – when default project is active.
Please follow the steps below to set up sample project:
Introduction: Let say we have to do a survey of all trees in northern area of a public park. The goal is to gather information about the hight of the trees and species on the ground. To speed up the process of gathering data we can create an MapPad project for that purpose.
1. Please select the ‘Project Management’ from the Tools menu:
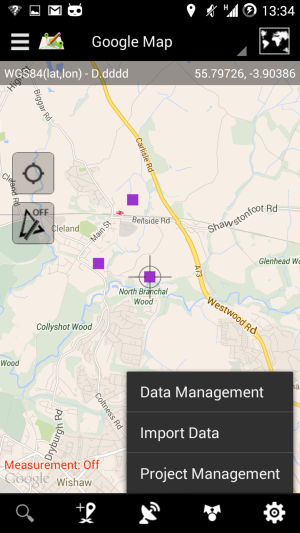
Project Management extension
2. Please press the ‘+‘ (Add) button in the top-right corner to add new project. Provide the name and description (optional) then press the ‘Add Project’ button.
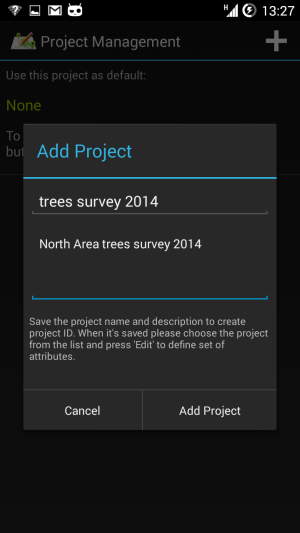
Add New project
3. Tap on the newly created project and choose ‘Edit’ option from the context menu on the top of the screen.
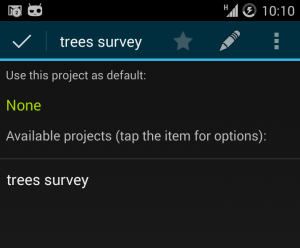
Project options
You will see the screen as on the picture below. You can change the name and description or press ‘+‘ (Add) button in the top right corner to add new attribute.
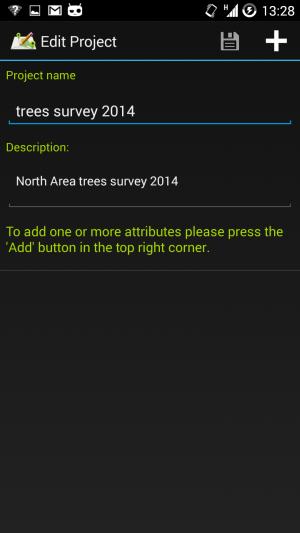
Note: An Attribute is like a category for the set of values e.g. in our example we need to create 2 attributes:
- species (set of trees species growing in our test area)
- height (several hight ranges we want to register)
To create attribute species please press the + (Add) button, provide the name in our case ‘species‘ and press the button ‘+’ (Add) ones more to add a value:
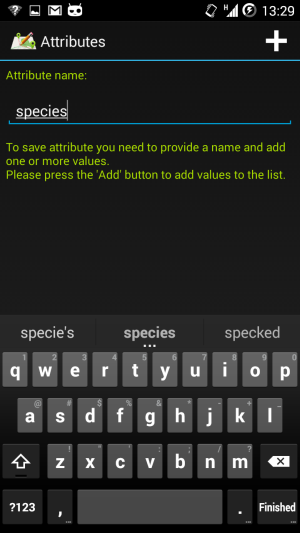
Add Attribute
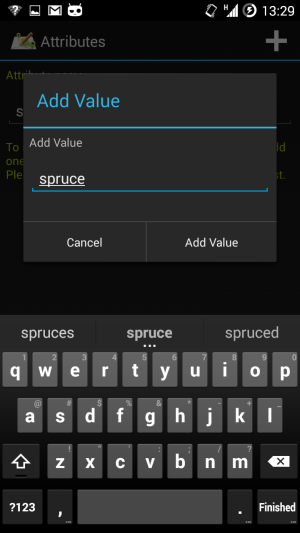
Add value
Please add few species to the attribute – defined values will be then displayed within a drop down list when ‘Add Point’ button is pressed.
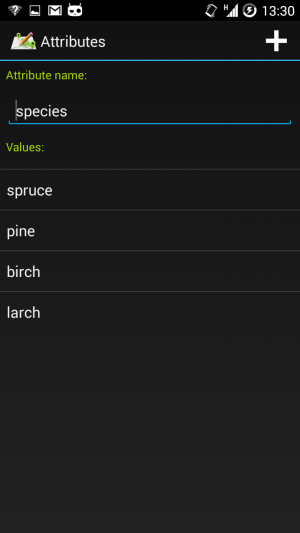
Species attribute
Please get back to ‘Edit project’ screen and add new attribute called hight:
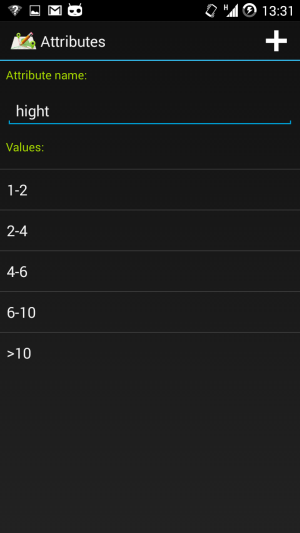
Hight attribute
At the end of the process the ‘Edit project’ screen should look as below:
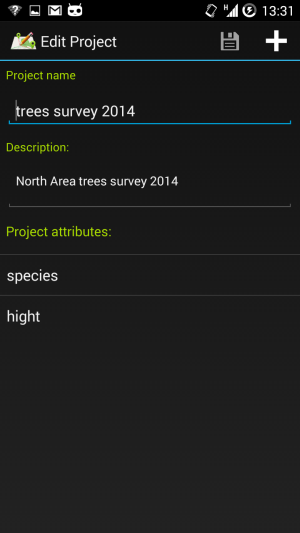
Project with 2 attributes defined.
Now you can get back to the ‘Project Management’ screen then choose the project and make it default. You can change that setting at any-time. Default project selected will determine the behaviour of the ‘Add point’ button. If you finish your survey and would like to reset the ‘Add point’ behaviour to default please press ‘Clear’ button.

Set Project as default
Now you can get back to the map and start adding your points. Following screen will be displayed each time ‘Add Point’ button is pressed and you will be able to choose the values from the drop-down lists :
Add Point – when default project is active.
You can export project or project category to CSV and process your file in software like Excel or GIS Desktop applications.
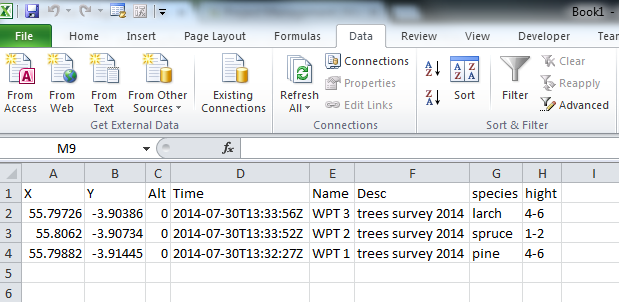
CSV Export
If you export your project to other formats like KML or GPX the attributes will be added to the point description field.
Some facts about a projects:
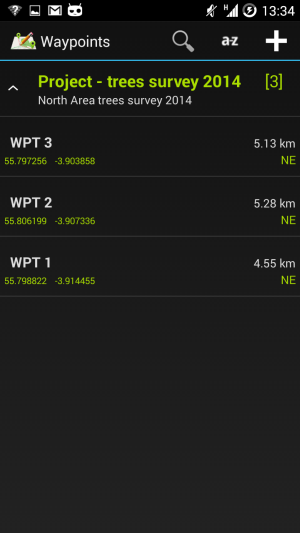
– Each project is creating new waypoints category. You can apply all the actions as for any other category, so you can change default colour, change description, export and share etc. You cannot however rename or remove project category.

Project category
– Each point can be edited as any normal point, so to add pictures or apply other actions for the waypoint just do it as for any standard point.
Waypoints management
– Removing project in ‘Project Management’ screen will remove all associated points as well. You will be asked to confirm this action.
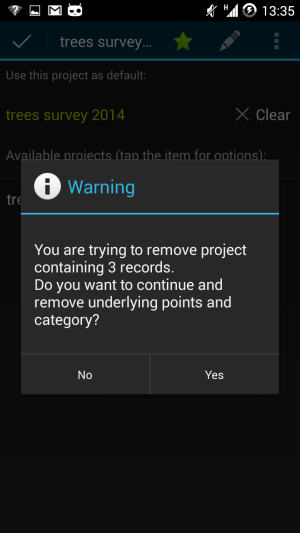
Remove project
– Its’s not recommended that you will change the attributes definition in the middle of doing a survey. It may cause the data being inconsistent for example if you add an attribute all other points registered before do not get any value saved against it until you manually edit them and set the correct value.

Edit project properties